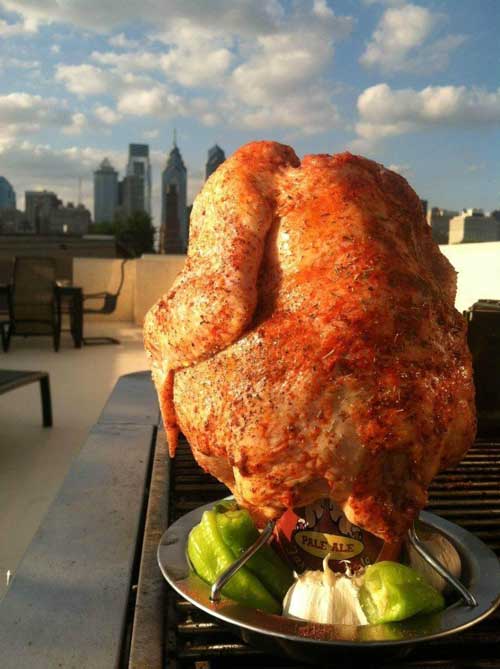
Beer can chicken is our favorite way to cook chicken on the grill. Every time we use this recipe to cook a whole chicken, it turns out moist and delicious. I always hope to have leftovers, but we rarely do!
Ultimate Beer Can Chicken
Ingredients
For the Beer Can (or Root Beer or your preference)
- 4 chopped garlic cloves
- one-quarter of an onion, chopped
- lemon pepper
- rosemary
- garlic salt
For the Bird
- 1 whole roaster chicken
- 1/2 small lemon
- 1 tsp. sweet paprika
- 2 tsp. fresh thyme
- 1 Tbsp. fresh lemon verbena, chopped
- 1 clove of garlic, smashed
- 1 clove of garlic, minced
- 1 bell pepper
- 1 onion
- 1 whole bulb garlic
- approx. 1 Tbsp. olive oil
- coarse sea alt and fresh ground pepper
- 1 can of beer
Instructions
- Remove innards and neck from chicken and pat dry.
- In a small bowl mix together olive oil, salt, pepper, paprika, oregano, and parsley. Use as much as you like for each flavor, about equal amounts, but watch the salt!
- Put the chicken on a platter and carefully use your fingers to loosen the skin on the breast area and pull it gently away from the meat.
- Brush the olive oil mixture underneath the skin and on to the meat, being careful not to tear the skin.
- Continue to use about half the olive oil on the top of the chicken.
- Pour out half the liquid from your canned beverage.
- Set can inside metal holder, if you have one. Otherwise, put chicken over can, balance it and place in a rimmed baking container. Place your bell pepper, garlic bulb and onion around bottom of the base, as they roast you’ll get the flavor penetrating throughout.
- Use the rest of the olive oil mixture and brush on to the back half of the chicken, the sides and then dump any remaining oil in to the chicken cavity.
- Turn on the heat on only one side of your grill to high and allow grill to warm up for about 10-15 minutes. Then turn heat down to medium-high.
- Place chicken on the OTHER SIDE of the grill (cook it off heat). Close the top of the grill.
- Rotate the chicken ¼ turn every 15 minutes so that the sides of chicken are evenly crisped. Chicken is done when internal temperature reads 180 degrees on a meat thermometer. This takes about 60-90 minutes, depending on how hot the grill is.
Notes
If using your gas or charcoal grill, beer can chicken works with indirect heat. You want one side of your grill to have heat and the other to be without any heat source. The beer-can chicken is placed on the side with no heat and the lid is closed. What now occurs is a circulation of heat, with rotation of the bird – much like what happens in a conventional oven.
Conversely, beer can chicken can also be done in your oven with placement of the bird simply being on the lower-middle rack. In both cases, a drip pan must be used as fat renders and some liquid from within the can may still bubble out (that’s really why you drink a 1/3 of the beer). You don’t want fat flare-ups occuring in your grill and you certainly don’t to create a mess in your oven either! There are many stands for beer can chicken out there…tailored for both outdoor and indoor (oven) use. This simple beer can holder works well in both instances.
Photo courtesy of: TheFabweb.com
Recipe adapted from: Kalofagas.ca


