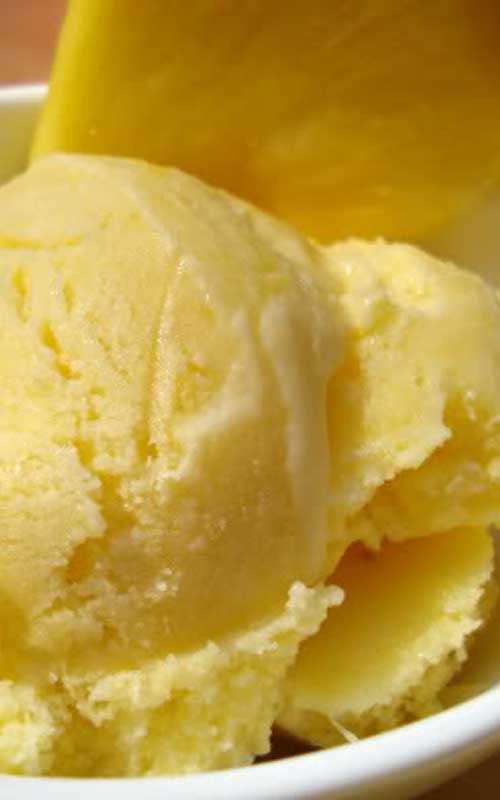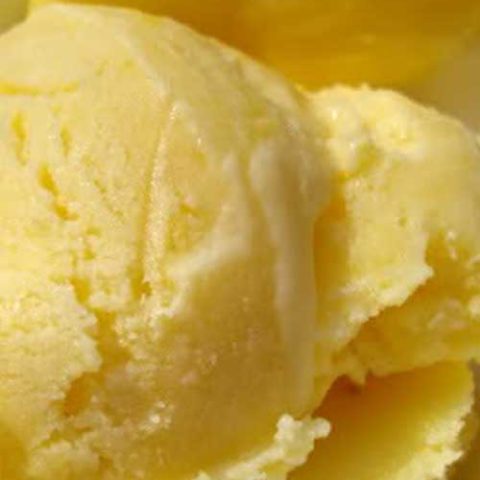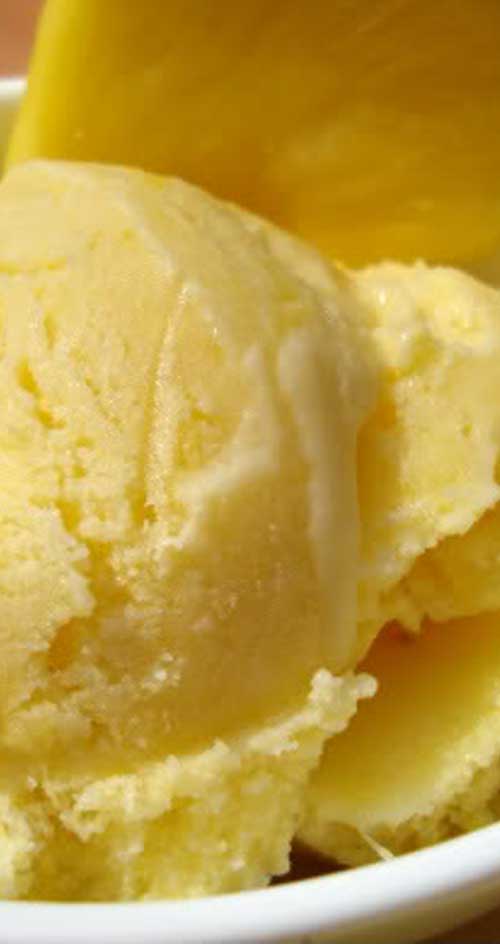
Are you dreaming of tropical, pineapple ice cream as a cool treat in the heat of summer? Then we have you covered!

Homemade Pineapple Ice Cream
Yield: 6 servings
Prep Time: 10 minutes
Cook Time: 30 minutes
Inactive Time: 6 hours 20 minutes
Total Time: 7 hours
Are you dreaming of tropical, pineapple ice cream as a cool treat in the heat of summer? Then we have you covered!
Ingredients
- 2 cups whole milk
- 1 cup sugar
- 1/4 cup powdered milk
- 8 eggs, only egg yolks
- 1 cup heavy cream
- 1 tsp vanilla extract
- 3 cups of pineapple, cleaned and cut into small pieces
Instructions
- In a large pot mix the milk, sugar and powdered milk. Bring the mix to a low simmer over medium heat and stir to dissolve the sugar, then turn the heat down and just keep it warm.
- Put the egg yolks in a medium bowl and whisk for 2 minutes until they are thickened.
- While constantly whisking, slowly add 1 cup of the hot milk mixture and whisk until it is blended. Then pour the egg mixture back into the pot of hot milk and increase heat to medium. Stir the mixture constantly with a wooden or plastic spoon, until the mixture is thickened (like gravy).
- Stir in whipping cream and vanilla. Cover and put into the refrigerator for at least 6 hours (or overnight) before making the ice cream in the ice cream maker.
- Blend fruit in a food processor or blender to a puree consistency.
- Stir the pureed fruit into the milk and egg mixture. Mix thoroughly.
- Pour the mixture into an ice cream machine and churn until frozen, 15-20 minutes, according to the manufacturer’s instructions.
- Transfer to plastic container and place in the freezer for an hour before serving.
Nutrition Information
Yield 6 Serving Size 1Amount Per Serving Calories 471Total Fat 24gSaturated Fat 13gTrans Fat 1gUnsaturated Fat 9gCholesterol 332mgSodium 159mgCarbohydrates 51gFiber 1gSugar 49gProtein 14g
Nutrition data was provided and calculated by Nutritionix, and should only be used as a general guideline. This information is provided as a courtesy and there is no guarantee that the information will be completely accurate.
Recipe and Photo: Foodista


